Lab 3.2 - F5 Container Connector Usage
Now that our container connector is up and running, let’s deploy an application and leverage our F5 CC.
For this lab we’ll use a simple pre-configured docker image called “f5-hello-world”. It can be found on docker hub at f5devcentral/f5-hello-world
App Deployment
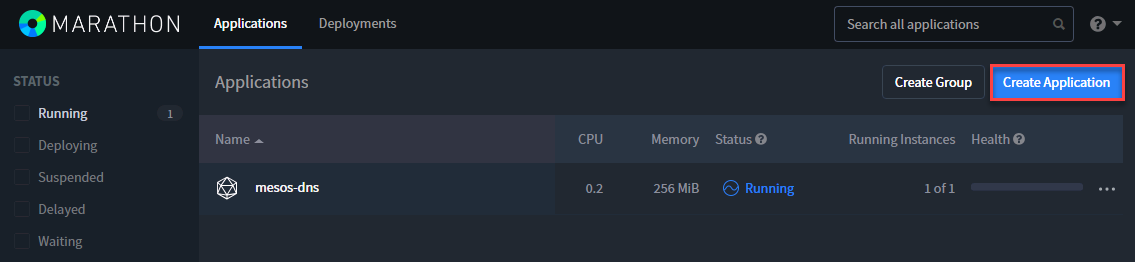
From the jumpbox connect to the Marathon UI at http://10.2.10.21:8080 and click “Create Application”.
Click on “JSON mode” in the top-right corner
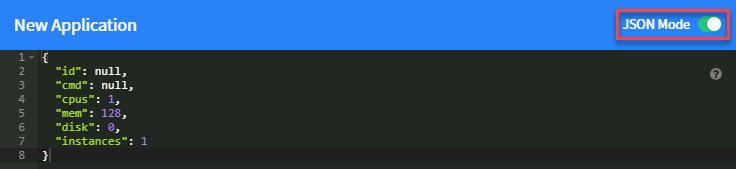
REPLACE the 8 lines of default JSON code shown with the following JSON code and click Create Application
 1
 2
 3
 4
 5
 6
 7
 8
 9
10
11
12
13
14
15
16
17
18
19
20
21
22
23
24
25
26
27
28
29
30
31
32
33
34
{
  "id": "f5-hello-world",
  "cpus": 0.1,
  "mem": 128.0,
  "instances": 2,
  "container": {
    "type": "DOCKER",
    "docker": {
      "image": "f5devcentral/f5-hello-world:latest",
      "network": "BRIDGE",
      "forcePullImage": false,
      "portMappings": [
        { "containerPort": 8080, "hostPort": 0, "protocol": "tcp" }
      ]
    }
  },
  "labels": {
    "F5_PARTITION": "mesos",
    "F5_0_BIND_ADDR": "10.2.10.81",
    "F5_0_MODE": "http",
    "F5_0_BALANCE": "round-robin",
    "F5_0_PORT": "80"
  },
  "healthChecks": [
    {
      "protocol": "HTTP",
      "portIndex": 0,
      "path": "/",
      "gracePeriodSeconds": 5,
      "intervalSeconds": 16,
      "maxConsecutiveFailures": 3
    }
  ]
}
F5-Hello-World is “Deploying”
Note
The JSON app definition specified several things:
- What container image to use (line 9)
- The BIG-IP configuration (Partition, VS IP, VS Port).
- The Marathon health check for this app. The BIG-IP will replicate those health checks.
- The number of instances (line 5)
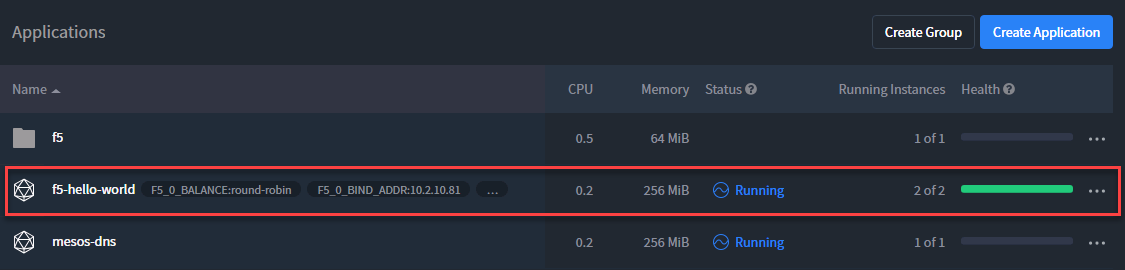
Wait for your application to be successfully deployed and be in a running state.
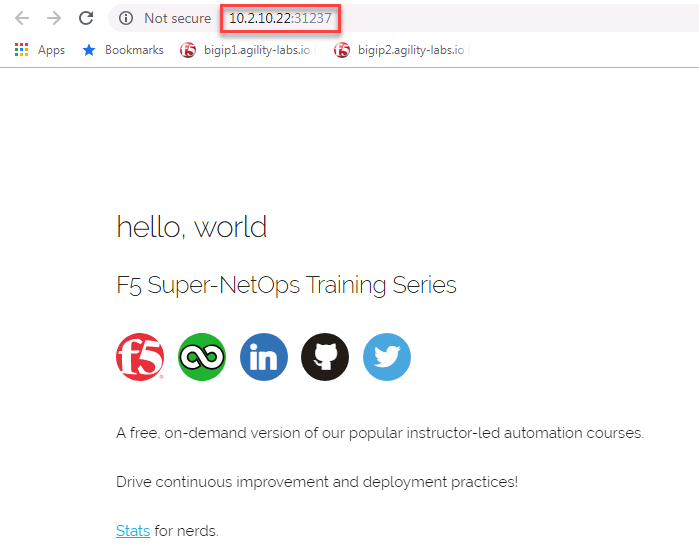
Click on “f5-hello-world”. Here you will see two instance deployed, with their node IP and Port.
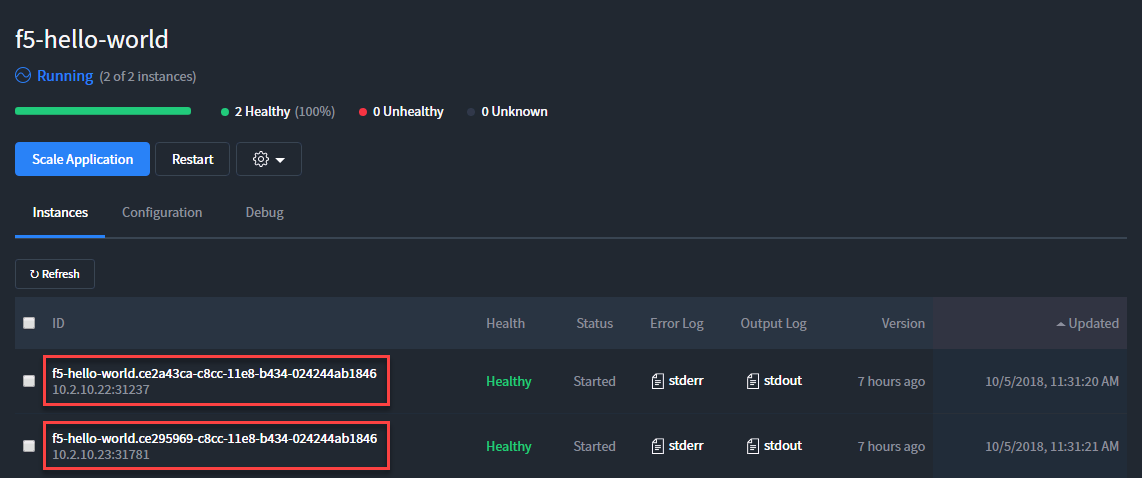
Click on one of the <IP:Port> assigned to be redirect there:
We can check whether the Marathon BIG-IP Controller has updated our BIG-IP configuration accordingly. Connect to your BIG-IP on https://10.1.1.245 and go to Local Traffic –> Virtual Server.
Warning
Don’t forget to select the “mesos” partition or you’ll see nothing.
You should have something like this:

Go to Local Traffic –> Pool –> “f5-hello-world_80” –> Members. Here we can see that two pool members are defined and the IP:Port match ou deployed app in Marathon.

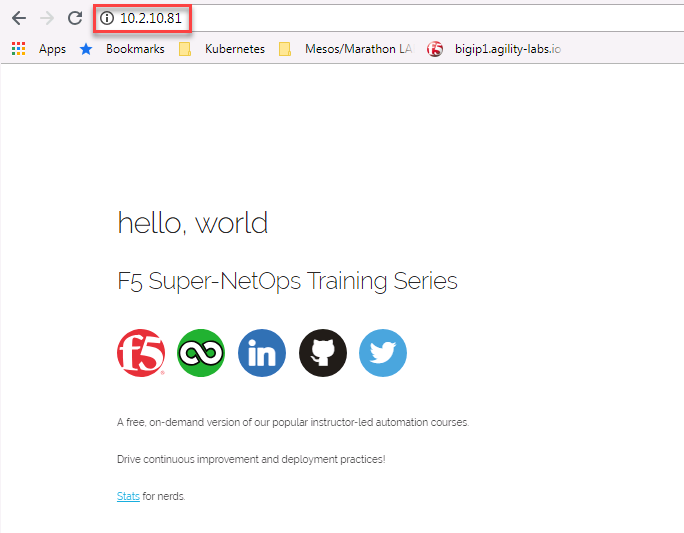
You should be able to access the application. In your browser try to connect to http://10.2.10.81
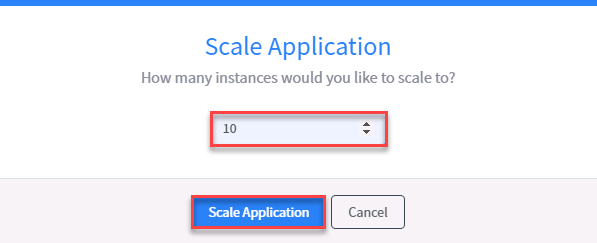
Scale the f5-hello-world app. Go back to the Marathon UI (http://10.2.10.21:8080). Go to Applications –> “f5-hello-world” and click “Scale Application”.
Let’s increase the number from 2 to 10 instances and click on “Scale Application”.
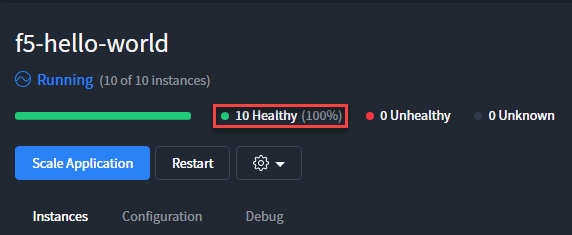
Once it is done you should see 10 “healthy instances” running in Marathon UI.
You can also check your pool members list on your BIG-IP.
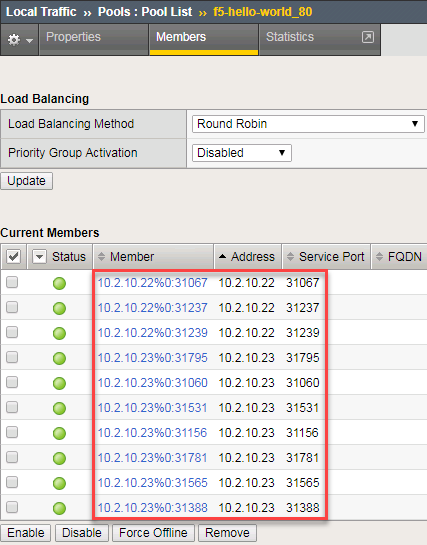
As we can see, the Marathon BIG-IP Controller is adapting the pool members setup based on the number of instances delivering this application automatically.
Scale back the application to 2 to save resources for the next labs.